7 Backsplash Installation Tips
April 29, 2021
5 min read
5 min read
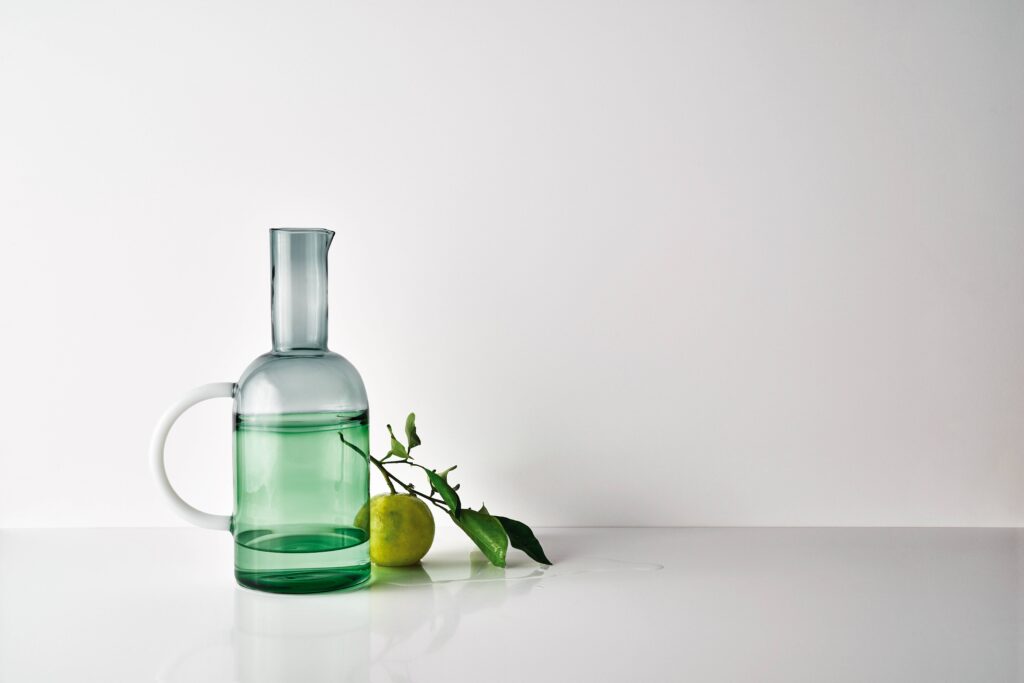
It is the little details that makes a home unique. When talking about kitchen upgrades, backsplash installation is always a consideration. Although you may have the right appliances placed strategically in your kitchen, a countertop that complements the aesthetics of your home and sufficient lighting, the lack of a backsplash can throw off the whole space. By creatively planning and executing your design process, you can optimize this wall space with an eye-catching design that’s both fashionable and functional.
What is a backsplash?
A backsplash is a material that fills the gaps between cabinets and countertops in a kitchen or bathroom. They range from small to large patches that match certain details in the kitchen or bathroom. While most people prefer to use DIY techniques to install backsplashes, complex designs may require professional installations. Whether you are a DIY fanatic or you prefer using professional assistance, having an understanding of the installation process is essential.
Why do you need a backsplash?
While most people use a backsplash as an aesthetic home statement, backsplashes protect the walls behind the sinks from water damage. In a kitchen, backsplashes protect the wall against water and splatter from grease during meal preparation. By adding a backsplash, you get both functionality and an aesthetic statement.
Given the benefits of installing a backsplash in your space, ensuring that you get the installation done right is paramount. Read on for our 7 best backsplash installation tips.
Installing a backsplash around stoves and sinks adds to the functionality of a kitchen or laundry room as well as the aesthetics. If you are installing the backsplash in your bathroom, adding backsplash tiles behind the sinks and surrounding the shower brings an entirely new look while still adding new interesting features to the spaces. In the kitchen, backsplashes should be placed in busy areas such as behind sinks or near your cooktop.
If you are taking the DIY route, it’s time to update your toolbox with an angle grinder. You’ll need to cut your backsplash tiles to fit your space and an angle grinder with a toothless cutting blade is the best tool for the job. You will also need a pencil and tape measure to get the right measurements and mark each area of the tile that will be cut. Do not forget your safety glasses. Dust off tiles can get into your eyes, and cause damage.
Once you select the ideal backsplash for your kitchen, it’s time to start planning. Carefully measuring the space to be covered saves you from running out of materials halfway through. Measure the backsplash area and multiply the width and length to derive the square footage. Add at least 10% for possible mistakes, cuts and waste. If you need to, hire a professional to complete the job.
Before installing a backsplash, your wall needs to be prepped. You need to ensure that you have a uniform and smooth surface before you install the backsplash. While an uneven surface can still be used, bumps and lumps are not ideal. For uneven drywalls, use medium-grit sandpaper to sand the area, vacuum the dust and wipe it with a damp cloth to get rid of any residue. Clean the wall with mild soap and a sponge. If the wall is stained, use a deglosser with an abrasive pad to remove the stains.
If you are working with a small space, using a backsplash around the entire room gives the illusion of a larger space. White backsplashes add to the effect as they reflect light and make the space feel larger.
Sealants can change the outlook of your backsplash while still protecting it from potential damage. If you have a solid brick backsplash, ensure you coat it with a sealant, preferably a clear polyurethane one. Using a sealant keeps off stains from food, oils and even cooking fumes. It’s also easier to clean. Some backsplashes require no sealant. For instance, a brick veneer backsplash is better without a sealant. If you opt to use one, a siloxane-based or clear silane sealant is preferable but using a silicate-based sealant on a veneer backsplash may discolour the brick.
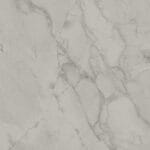
If you love modern aesthetics, go with a quartz backsplash. Quartz is an incredibly versatile and durable material that’s easy to clean and comes in many styles. Check out our quartz collection here!
Plus, it’s possible to install your quartz backsplash as an entire slab. That eliminates the need for grout, which can collect dirt and debris. Learn more about the benefits of quartz as a kitchen material here.
Backsplash cleaning tips
Now that you have installed your backsplash, you want it to maintain the clean look. While many backsplashes do not demand a lot of care and maintenance, the use of wrong cleaning agents can ruin them. Avoid cleaning with undiluted acids or abrasive materials like sandblasters and steel wool. Instead, use warm water with a splash of soap.
When spread across the surface, this mixture removes tough stains. If this does not work, add a drop of boric acid. Use a bristle brush to spread the solution on the surface. The boric acid and water solution not only removes tough stains but also prevents the formation of rot on the brick.
{{ subtitle }}
{{ i.desc }}
{{ subtitle }}
{{ subtitle }}