Can a Broken Quartz Countertop be Repaired?
April 29, 2021
6 min read
6 min read
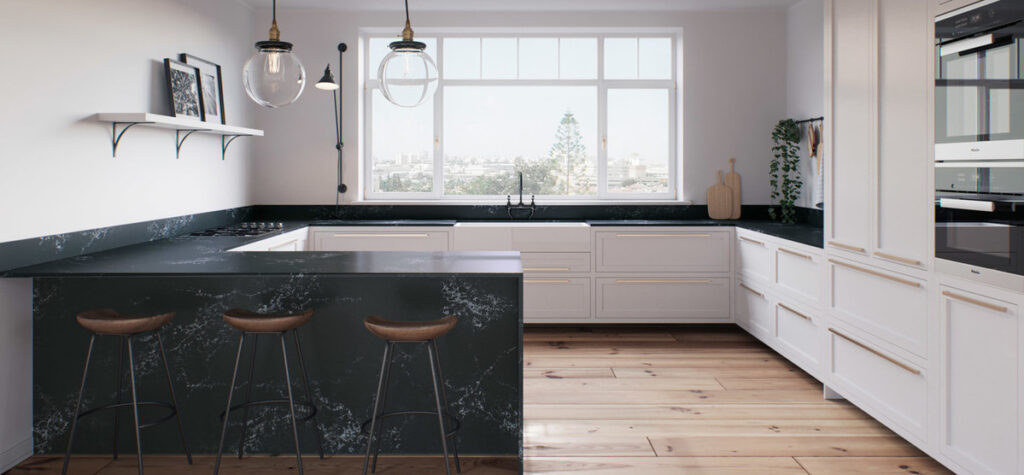
While quartz countertops are durable, they can sometimes crack. While it can be frustrating, don’t panic. Knowing how to prevent and fix cracks helps maintain your quartz countertop and also prevent further cracking.
| Damage type | Recommended approach | Notes |
|---|---|---|
| Hairline crack (under 5cm, surface only) | DIY repair — 6-step process below | Best results when caught early before dirt enters the crack |
| Small chip (under 2cm, corner or edge) | DIY repair — colour-matched epoxy recommended | Edge chips are more visible; consider professional if in a prominent location |
| Large crack (over 5cm, or through the full slab thickness) | Professional repair or replacement | DIY epoxy will not restore structural integrity |
| Crack near the sink cutout | Professional repair | High-stress zone; DIY repair rarely holds long-term |
| Multiple cracks or widespread damage | Replacement assessment | May indicate substrate or installation issue — consult a fabricator |
| Warranty still active | Check warranty first | Many Caesarstone warranties cover manufacturing defects; attempting DIY repair may void coverage |
What causes cracks on a quartz countertop?
Can you repair a quartz countertop?
Quartz countertop repair is a simple process. You will need an acrylic adhesive, epoxy or a clear resin. For better results, ensure you only use a fast-setting clear epoxy. This dries to a hard consistency and also blends with the surrounding quartz stone.
Before attempting any DIY repair, check whether your countertop is still under warranty. Caesarstone offers a limited lifetime warranty on its residential products covering manufacturing defects. DIY repair attempts, including applying epoxy or adhesive, may void warranty coverage for that area of the countertop.
If your countertop cracked from normal use rather than impact or thermal shock, contact Caesarstone or your fabricator first to determine whether the crack qualifies as a warranty claim. A warranty replacement will produce a better result than any DIY repair and costs you nothing if the claim is valid. Keep your original purchase documentation and installation details — these are required for warranty claims.
If your quartz countertop has a large crack, it is wise to have a professional fix it. While this can be costly, depending on the intensity of the crack, you are ensured a flawless finish.

Here is a guide on how to repair a quartz countertop
Different damage extents require different filling techniques. This is why it is important to consider the location of the crack before purchasing your glue. If the damage is on a horizontal surface, a thinner glue is the best choice. If the damage is on a vertical surface, a thicker glue is a better choice to avoid drips.
Attempting to seal a crack on a dirty countertop will not give you the desired results. Use a recommended cleaner prior to the repair and give more attention to the area around the chip or crack. Ensure the entire countertop is dry before you start filling the cracks. Acetone is also an excellent countertop cleaner prior to filling. Allow the acetone to evaporate before proceeding.
To prevent the glue from flowing to other parts of the countertop, use tape to surround the cracked area. Failure to mark the cracked area will allow the glue to flow to the entire countertop and produce inconsistent results.
For hairline cracks and small chips in quartz, a clear fast-set epoxy or a colour-matched stone adhesive gives the best result. In Canada, products widely available at hardware stores that work well for quartz repair include: clear two-part epoxy (Loctite Heavy Duty Epoxy or equivalent), which dries clear and is suitable for hairline cracks where colour match is less critical; colour-matched stone repair kits, available from stone fabricators and some kitchen showrooms, which blend into the quartz surface more invisibly.
Avoid standard super glue (cyanoacrylate) — it dries brittle and does not flex with the countertop, causing the repair to re-crack under normal use. Apply in very thin layers with a toothpick rather than squeezing a large amount into the crack, which causes uneven drying and a raised surface that is difficult to sand flat. These are general product category recommendations; always test on a hidden area first and follow the manufacturer’s cure time before sanding.
Waiting for a countertop to dry seems simple. However, in a multifunctional space, it can be more difficult than expected. Using your countertop before the epoxy dries could ruin the results. Give up to 24 hours for the epoxy to dry.
Ensure that the epoxy is completely dry before removing the tape and scraping the excess glue. To ensure the filled space matched the rest of the countertop, fine sandpaper should smoothen it out.
Now that you have repaired your quartz countertop, you must take damage preventive measures. Here are ways to enhance the maintenance of your quartz countertop and ensure durability:
Evade further cracks on your newly repaired quartz countertop by avoiding dropping heavy objects on it or sitting or standing on it.
{{ subtitle }}
{{ i.desc }}
{{ subtitle }}
{{ subtitle }}