Backsplash Basics: How to Remove Tile Backsplash
October 7, 2021
6 min read
6 min read
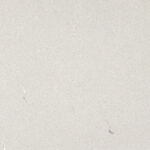
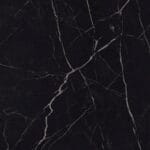
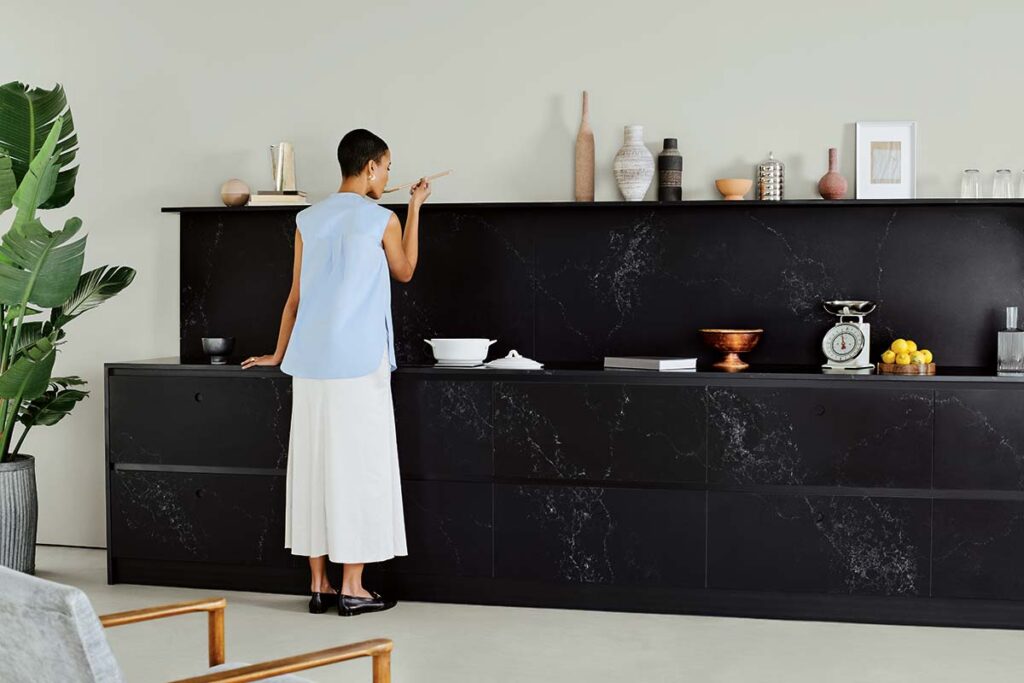
A tile backsplash can be a beautiful feature in a kitchen or bathroom design, but the tile may become dated or a different look may be desired. Perhaps the room could use a Caesarstone quartz upgrade. 5101 Empira Black could give a kitchen a sleek feel when installed as a backsplash.
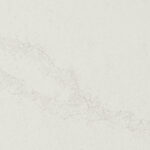
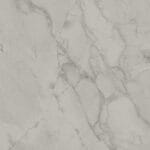
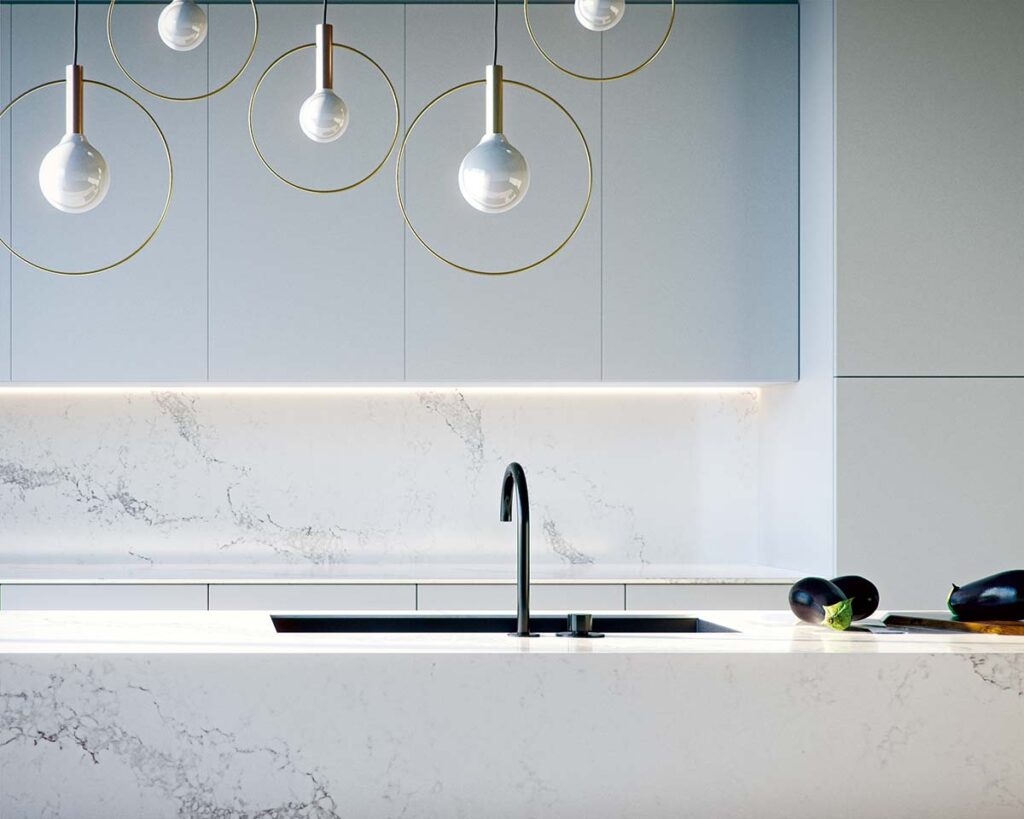
Depending on the colour scheme and style of your space, there are endless premium quartz options to choose from. Caesarstone’s 5031 Statuario Maximus is another popular choice for backsplashes. It offers a dove-white base misted with grey details and veining.
Removing backsplash tiles without damaging the materials underneath can be tricky. This helpful guide covers all the backsplash basics for removing tile without damaging the structure or materials underneath.
This guide includes handy tips and tricks for an excellent outcome should you choose to do the job yourself. However, hiring a professional is always recommended.
Before beginning a tile backsplash removal project, the following tools will be required:
To avoid a huge mess, a simple drop sheet (like the ones used for painting projects) can be used in the area of the backsplash tile removal project. It is a good idea to get various grits of sandpaper for the project because different kinds of tile adhesives may be underneath the tile to be removed, and different grits of sandpaper are required to effectively remove different kinds of adhesives.
An electric sander is not necessarily required, but it can make the task of tile backsplash removal much easier than using a hand sander.
The use of personal protective equipment is up to the individual performing the task of removing the tile backsplash. In general, basic PPE equipment such as gloves, eye protection, and clothing suitable for a project (keeping in mind the possibility of damage or stains) is appropriate.
Since sanding is involved in the tile backsplash removal project, individuals with respiratory sensitivities may opt to also wear a face mask or respirator to prevent irritation from any materials released into the air through the process of sanding.
The area directly underneath and surrounding the backsplash tiles that will be removed should be cleaned and cleared of any unnecessary clutter or items that could be damaged during the work process. If a drop sheet is to be used, this can be spread over the counters underneath the backsplash or over any surface that is underneath the area of the backsplash to be removed.
If desired, painter’s tape can be used to hold down the edges and corners of the drop sheet, but this is not a necessity. All tools needed for the project should be gathered and arranged near the backsplash tile to be removed in a way that is neat, tidy and easily accessible during the work process.
Outlet covers and light switch covers that are located within the working area should be removed using a screwdriver and set aside, away from any possibility of damage during the work process.
Being careful, patient and precise during the tile removal process will help avoid unnecessary damage to the surfaces underneath the tiles being removed. The first step in the process of removing the backsplash tiles is to use the putty knife as a chisel against the top or side edge of the tile. Carefully hammer the putty knife in to loosen the tile.
This first step may take a long time, but being careful and patient is of utmost importance. If a specific tile is stuck firmly to the surface underneath, it can be helpful to try approaching that tile from another angle or vantage point.
The next step is to identify the adhesive that was used to stick the old tiles to the surface underneath. There are typically two different kinds of adhesive.
1. Cement-based: This adhesive will be spread in a very thin layer and will be rock-hard, like cement.
2. Mastic adhesive: This adhesive will appear semi-soft and may be spread in thicker layers than the cement-based adhesive.
Removing cement-based adhesive is best done with an electric sander because it is much tougher to remove than mastic adhesive. The putty knife or the utility knife may also be required to chisel the adhesive from the wall, in a similar fashion to the removal of the tiles in step 1.
Mastic adhesive is easier to remove than cement-based adhesive and can be sanded away by hand or with an electric sander.
Using the putty knife and the drywall joint compound, any nicks or uneven spots in the drywall should be filled in and smoothed over to create a uniform surface over the entire area where the backsplash tile was removed. This process may need to be completed more than once to ensure the smoothest surface when finished, but each layer of drywall joint compound should be allowed to dry completely before more work is completed on the drywall.
Once the drywall has a smooth, uniform surface and all of the drywall joint compound has been allowed to dry completely, the drywall is now ready for its brand new tile backsplash or other finishing.
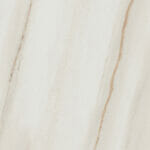
Caesarstone quartz is the superior choice when it comes to selecting material for a new backsplash. Created from quartz in a revolutionary process, Caesarstone’s products are harder than steel, last a lifetime, and are breathtakingly beautiful.
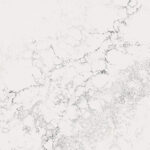
5171 Arabetto is a stunning cream colour with intricate natural grey and black line patterns running through its surface. The addition of this quartz would transform any space into a tranquil, eye-catching design masterpiece, and would be a show-stopping detail to brighten the space for many years to come.
If starting a backsplash reno project seems stressful, you can book a virtual consultation with Caesarstone beforehand and bring your questions and concerns to the professionals. You can also follow Caesarstone’s checklist to hire the right pro.
If you don’t feel confident in your ability to remove tile backspace yourself, hiring an expert can eliminate worry and ensure the job is done correctly the first time.
{{ subtitle }}
{{ i.desc }}
{{ subtitle }}
{{ subtitle }}