Replacing Old Bathroom Sink Countertops: DIY or Hire a Professional?
October 7, 2021
6 min read
6 min read
Replacing old bathroom sink countertops or vanity tops is a simple way to transform a bathroom from mediocre to luxurious with just one change. Many kinds of bathroom sink countertops fall out of fashion, become old and collect grime and bacteria, or even start falling apart after years of use.
Caesarstone’s unique quartz countertops are an excellent choice for upgrading a bathroom countertop. With the long-lasting and superior quality of Caesarstone’s products, a bathroom can be easily upgraded with a fresh design element that will look beautiful for years to come.
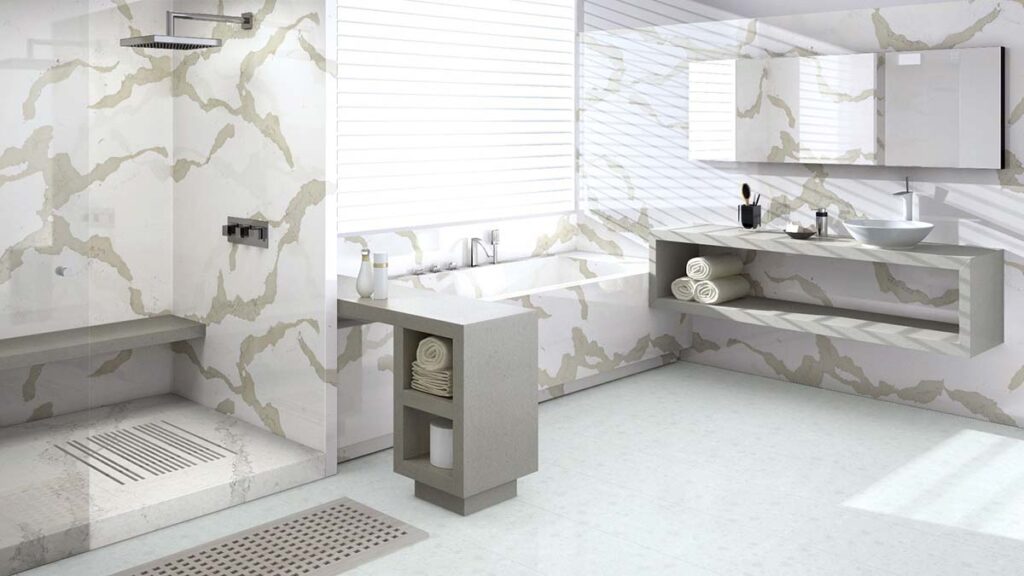
For example, installing the 5114 Calacatta Maximus countertop from Caesarstone’s New Whitelight Collection would bring an outdated bathroom into the future. Combining a modern, sleek design with natural lines that weave across the surface, and a cool, soft white tone, it illuminates the room and brings it into the present.
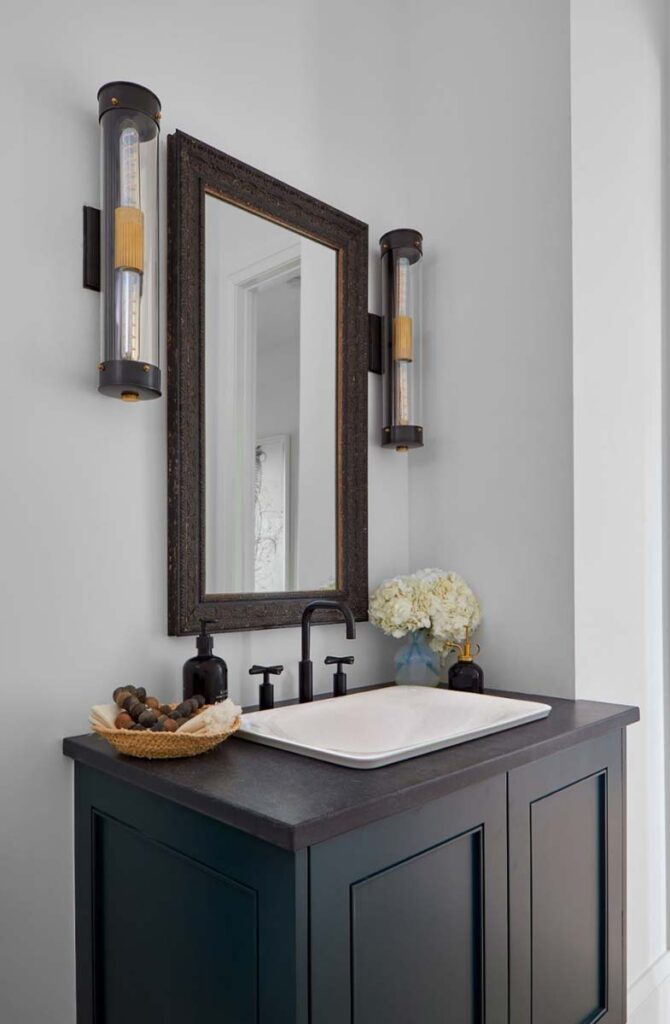
If you are seeking a timeless classic look instead, a bathroom sink countertop colour like 5141 Frosty Carrina would work beautifully, boasting an ivory base and powder grey veining for a more traditional feel.
This is a step-by-step guide for replacing old bathroom sink countertops, should you choose to do it yourself. However, hiring a professional is always recommended to ensure the highest quality installation.
Various kinds of bathroom sink countertops will require different tools. In general, tools for turning the water and the plumbing systems off and on underneath the sink will be necessary. Typically this includes, at a minimum, a pipe wrench and an adjustable wrench.
Measuring tape will be required for measuring the old countertop and ensuring that a correctly sized new countertop is purchased. Some countertops have a sink bowl built in and others have an opening where a bowl can be installed.
Checking to make sure the new countertop has all necessary components, including the bowl (even if purchased separately from the sink), can save a lot of hassle later on in the countertop replacement project.
Along with the new countertop components, a variety of hand tools may be required for detaching the old countertop and securing the new countertop. This may include a screwdriver or specialty tools depending on the mechanism by which the old countertop is attached and the new countertop will be secured.
Finally, a level will be required for levelling the countertop base. A caulking gun and caulk will also be needed for sealing the faucet at its base.
First, clear away any clutter or items that could be damaged during the work process. To avoid messes, lay down a drop cloth or towel on the floor at the perimeter of the countertop’s base. All tools needed for the project should be neatly arranged where they can easily be accessed, and all new components for the countertop to be installed should be gathered and ready for installation.
The water supply for the bathroom where the installation is to take place must be shut off. The drain pipes and supply lines (plumbing components that are underneath the sink countertop) must be disconnected and shut off using the pipe wrench and adjustable wrench.
The old sink countertop can now be removed. There may be clips or other fastening hardware securing the old countertop to the base, or there may be a thin strip of adhesive holding the countertop to the base.
Common hand tools can be used to unfasten any clips or hardware, and if the old countertop was secured to the base with adhesive, the adhesive can be removed using a putty knife or utility knife and a hammer. If this chisel and mallet technique must be used, extreme caution should also be exercised to avoid any unnecessary damage to the countertop base.
Once the old countertop has been removed from the counter base, the plumbing pipes and other equipment underneath the sink must be inspected carefully for any damage or necessary repairs.
With the use of the level mentioned in step 1, the top surface of the countertop base can be checked. It should be a level surface. If the top surface of the countertop base is not level, shims or spacers can be placed where needed in order to create a level top surface.
The new countertop should be able to be placed on top of the countertop base. Once it is in place, it can be secured to the base using the hardware that was included with it when purchased. If a sink bowl is needed for the new countertop, it can be installed at this point in the process.
The new faucet can now be installed and connected to the appropriate plumbing components using the pipe wrench, adjustable wrench, and any other hand tools needed for proper installation.
Once the faucet is securely in place and has been connected to the plumbing components appropriately, caulk can be used to seal the area where the faucet joins the countertop. If a sink bowl was also installed with the new countertop, caulk should also be added to the edge of the sink perimeter and the new countertop.
Bathroom caulking is best completed with a caulking gun, which can be found at most local hardware or project stores. Use the caulking gun to place a line of caulk along the seams.
Caulking the components of the new countertop, the faucet and sink is very important because this task helps ensure that water from the sink will not seep into parts of the countertop that could become moldy or damaged if they are constantly wet.
The caulk must be allowed to fully dry before proceeding to the next step of the process.
Finally, the water supply to the bathroom where the installation project has occurred can be turned back on and the water and plumbing components should be tested to ensure that they are functioning properly.
Tools can now be put away and the old countertop and any other old items remaining from the installation project may be stored or discarded.
If starting a reno project involving Caesarstone products seems stressful, you can book a virtual consultation beforehand and bring your questions and concerns to the professionals. You can also follow Caesarstone’s checklist to hire the right pro.
By hiring a professional, you can ensure that your investment in a quality countertop for your bathroom sink is not going to waste, as everything is installed correctly. You will also ensure that the plumbing components are functioning properly and there will be no water damage as a result of any DIY mistakes.
Aside from the technical components, professionals can also help you brainstorm ideas for your project and make sure your sink countertop vision turns out beautifully.
{{ subtitle }}
{{ i.desc }}
{{ subtitle }}
{{ subtitle }}